
What You Need to Know About Securing Exchange Online: Connecting to Exchange Online

| TL;DR: | In order to properly secure Exchange Online, you need to know how to traverse and manipulate settings with PowerShell. In this guide we cover the installation of the EXOv2 module, using the module to connect to an Exchange Online instance, and running some basic commands. |
Exchange Online Security with PowerShell
In this post we are going to pick up where we left off last time. Now that we have the basics of PowerShell under our belt, we can go ahead and install the newer ExO V2 Module and then use that module to connect to an Exchange Online instance. Finally, we will go over a few simple commands just to verify the connection has been established.
Exchange Online V2 Module Installation
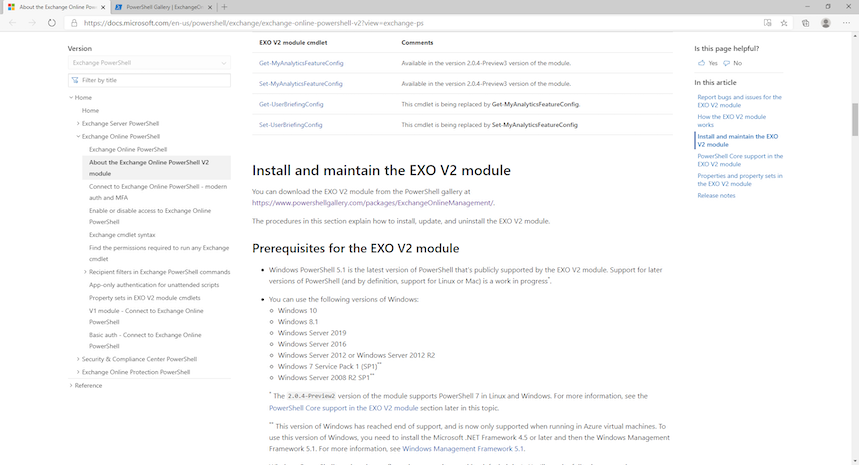
If you follow the link above for the EXOv2 Module you will find the installation instructions point you to the PS Gallery page for the module.
The PS Gallery has a few ways to install the module.
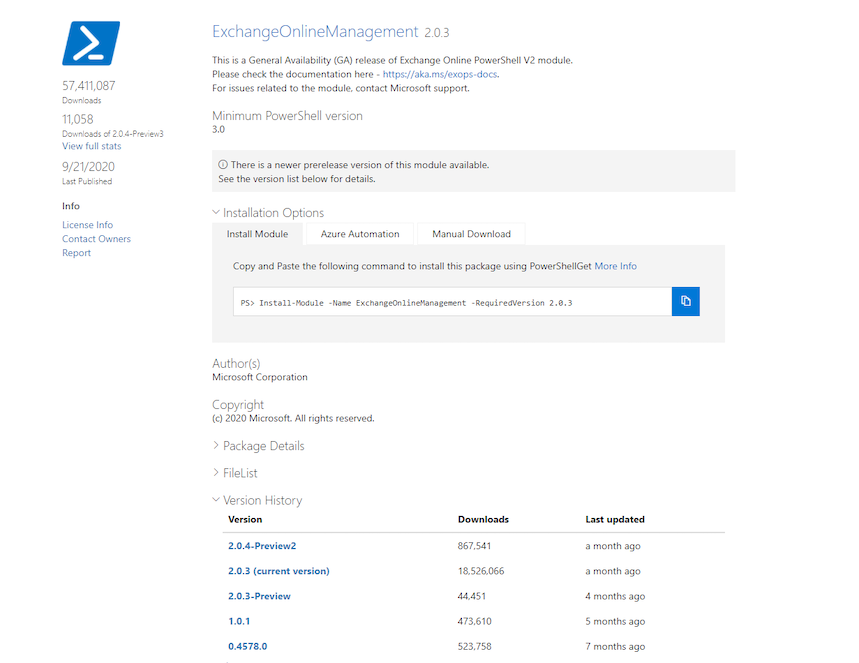
If your package manager is already set, you can enter the following statement to begin the installation of the module:
Install-Module -Name ExchangeOnlineManagement -RequiredVersion 2.0.3
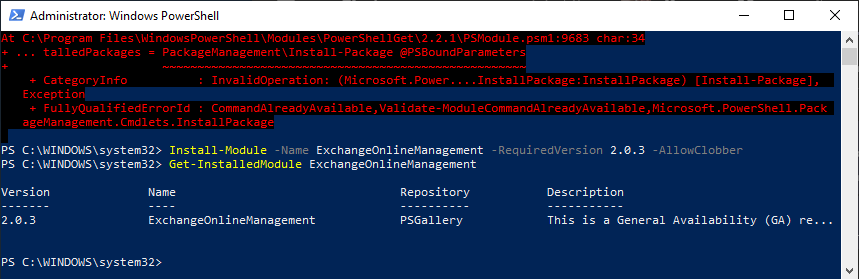
If you run the command you should see that PowerShell prompts you to confirm the installation. I would show you that with a screen grab, but I was met with an error:
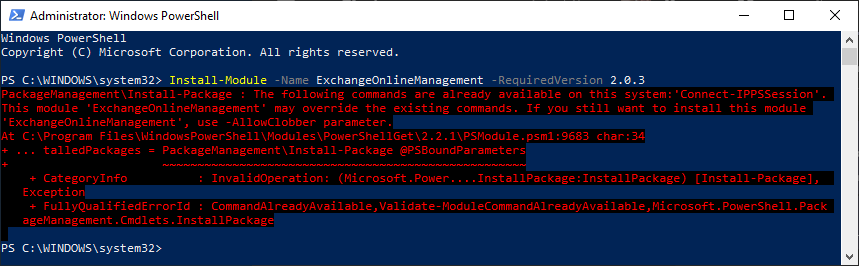
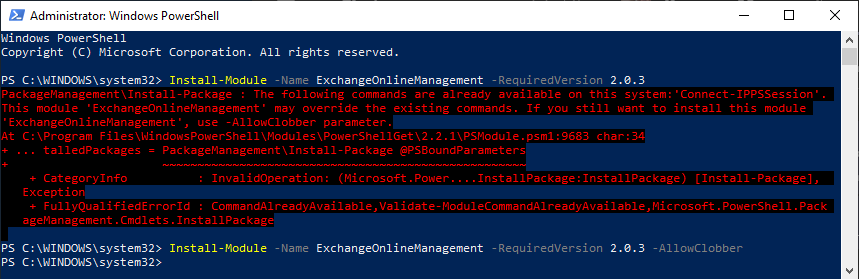
I decided to include this error because you will inevitably run into errors when trying to run command logic. Being able to troubleshoot based on the error description is pretty much a necessity with PowerShell and thankfully the error messages are mostly useful. In this case, even though I had uninstalled the Exchange Online V2 Module previously, there are some remnants of the module still in place on my system. PowerShell won’t let me override existing commands with commands from a new module, unless I give explicit permission with a switch. In this case, I ran the following command to get the module installed:
Install-Module -Name ExchangeOnlineManagement -RequiredVersion 2.0.3 -AllowClobber
This time there was no error and I was just brought to the next line. I am kind of a cautious guy, so this lack of feedback is disconcerting. How can we tell if the module was really installed? A valid question to which there is a valid response: the Get-InstalledModule command. You can use the following command to verify the installation:
Get-InstalledModule ExchangeOnlineManagement
Tips and Tricks
Once you get into using various modules it can be difficult to keep track of all the different module names. Thankfully, the Get-InstalledModule command is pretty versatile. If you know at least part of the module name you can surround it with wildcards (the * symbol) to have PowerShell find any module that contains the text between the wildcards. For example, running the command below will also show us that the Exchange Online Management module is installed:
Get-InstalledModule *Exchange*

Exchange Online v2 Module – Connecting to Exchange Online
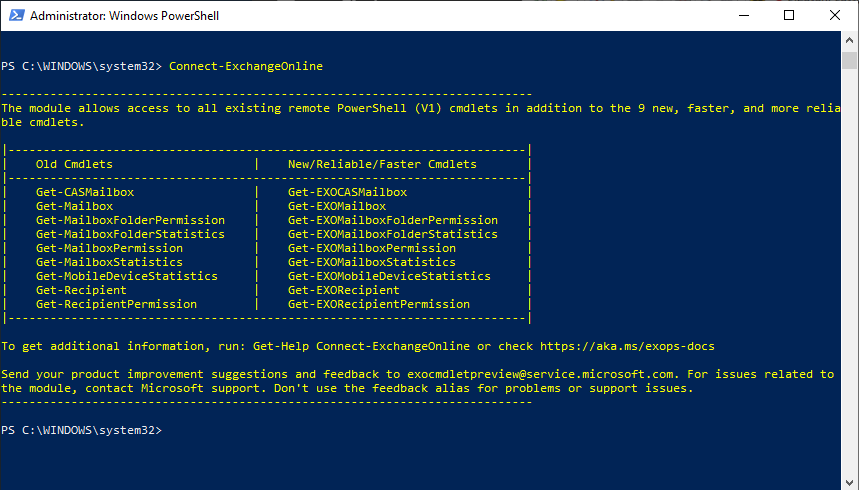
Now that the module has been installed, we can use it to connect to an Exchange Online instance. There are a few different types of connectivity options depending on the type of workflow you are using to connect to Exchange Online. For these examples, the assumption is that you are an administrator for a single instance of Exchange Online. Without delegated rights or service principals to worry about, connecting is straight forward. Use the following code and an account with enough access to connect to Exchange Online:
Connect-ExchangeOnline
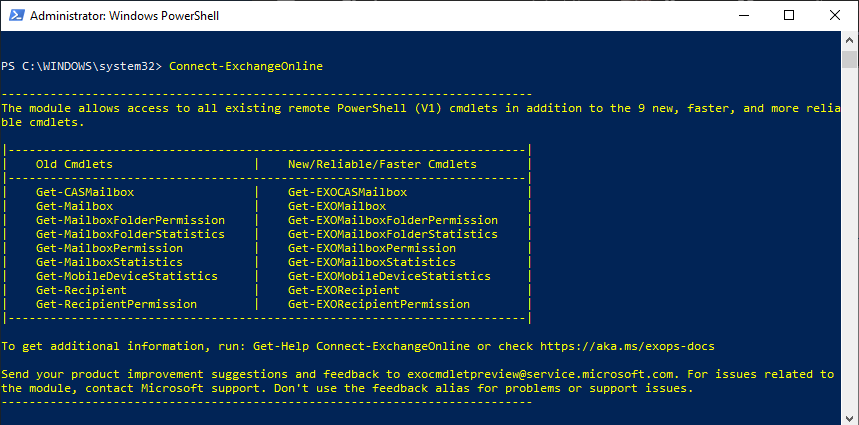
Since the new ExO V2 module supports modern authentication, if your account has MFA enabled, you will be asked to sign in with modern authentication:
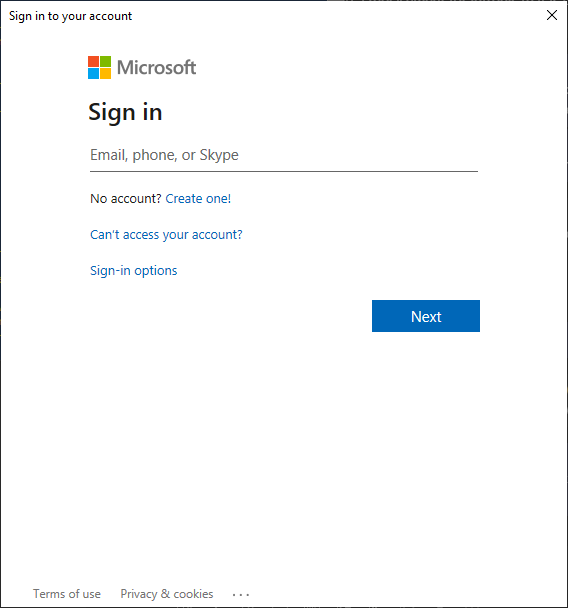
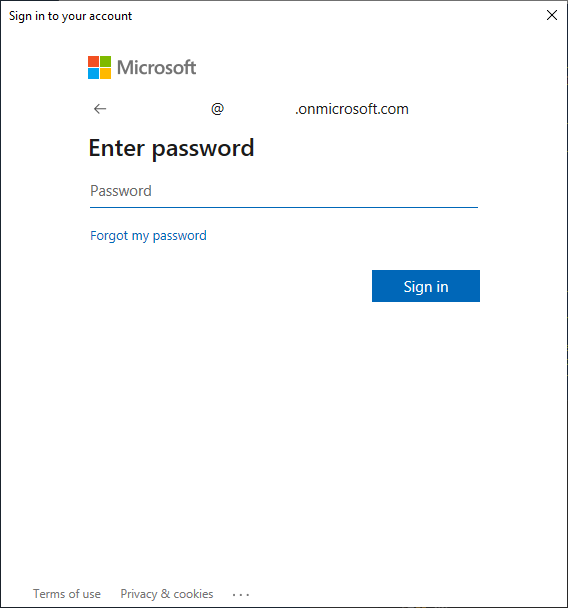
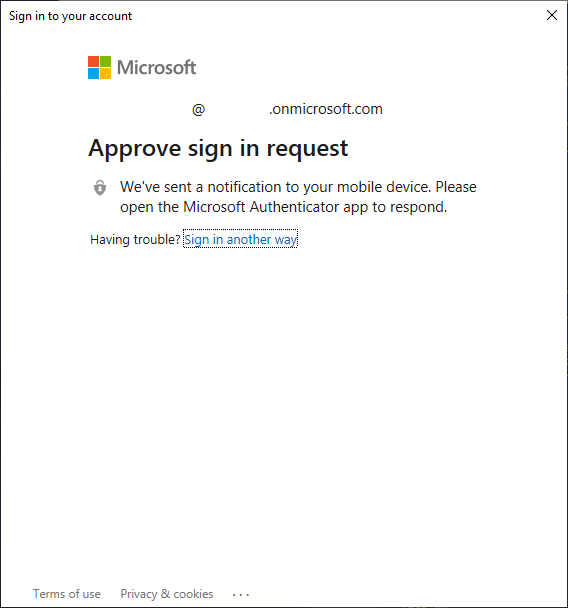
After you successfully authenticate, you will be brought back to a new line:
Once again this is one of those things you are just going to have to take on good faith that the authentication was successful. If it wasn’t, you will be prompted with an error.
Get Over Here!
In general, there are three basic command archetypes within Exchange Online: Get, Set, and New. Get commands are basically read operations. They get values/properties and are really pretty harmless to run so this is where we will start.
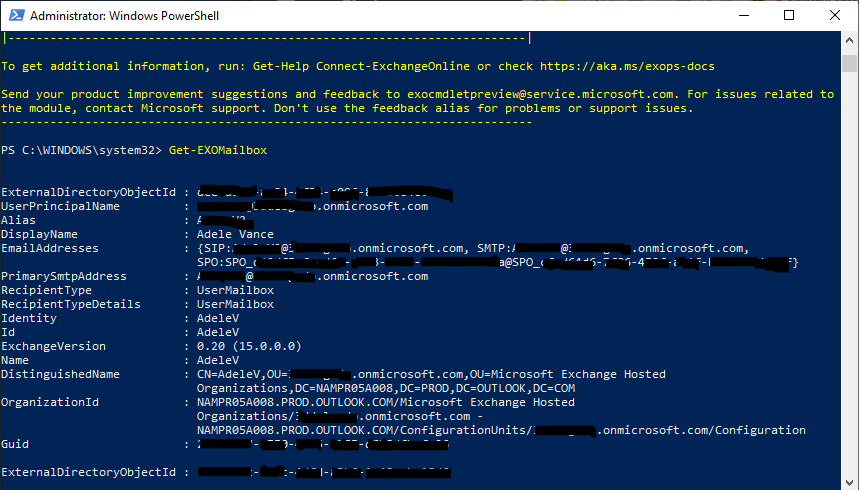
Let’s use our new connection to grab the mailbox objects for all our users. Use the following code to utilize the new v2 cmdlets to gather all mailboxes:
Get-EXOMailbox
Ready For A PowerShell Picnic?
My number one recommendation for new NOC analysts and administrators unfamiliar with PowerShell is always to fool around with it and the more you work with it, the less intimidating it will be. With that in mind, it is time to reach back to our previous picnic themed post and pull the concepts from that picnic basket and start eating a PowerShell sandwich made from mailbox statistics.
The command to get mailbox statistics using v2 cmdlets is:
Get-EXOMailboxStatistics
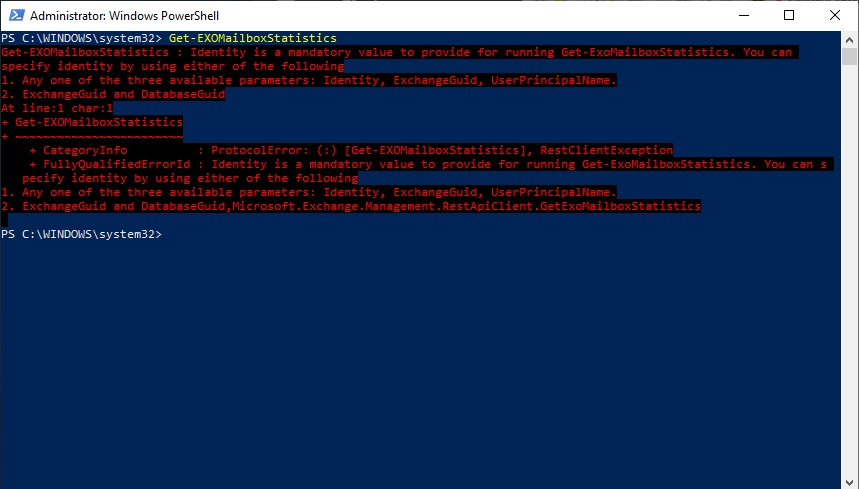
Yea I kind of set you up for failure on that one but I had a good reason I promise! The command failed but the reason why it failed is important and so is the resolution. Both can be found in the red text of the error but to make it a bit easier to read and understand, I have included the important bits parsed here.
The reason for the failure is “Identity is a mandatory value to provide for running Get-ExoMailboxStatistics.” What this means is we tried to run the command, but it has a mandatory switch that must be provided for the command to run properly.
Get-Help Get-EXOMailboxStatistics -Full
The suggested resolution is:
- Any one of the three available parameters: Identity, ExchangeGuid, UserPrincipalName.
- ExchangeGuid and DatabaseGuid.
What this means practically speaking is that the command was not intended to be run to gather statistics for all mailboxes in the organization at once. It requires a specific mailbox and then it will gather the statistics for just that one mailbox. That is the intent of the command but I really would not want to type that command a hundred times just to be able to view the statistics for all my users.
The acceptable identity parameters are Identity, ExternalDirectoryObjectId, or UserPrincipalName. All three are properties that are provided in the default set of properties for a mailbox object. In other words, when we run the command to get mailboxes, the objects that are returned have the information we need to be able to run the mailbox statistics command.
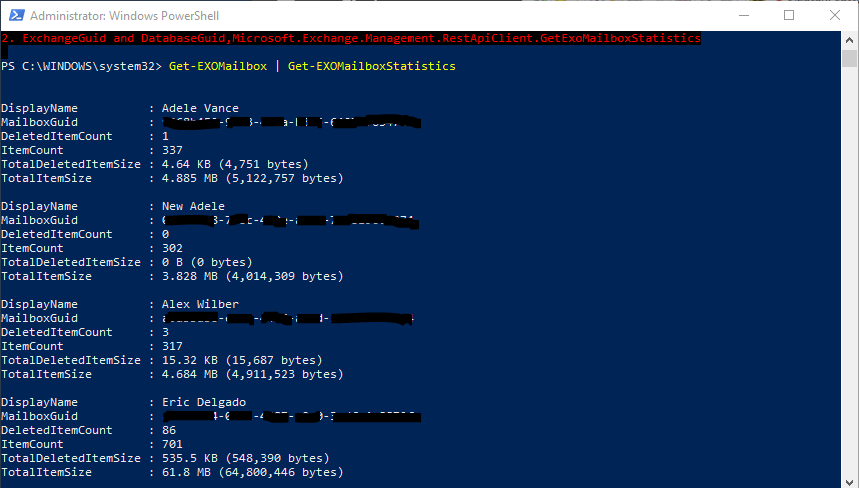
You can see this in action with the following code logic:
Get-EXOMailbox | Get-EXOMailboxStatistics
Bring Home the Leftovers
Ok, seriously I am kind of running out of picnic metaphors so I may have to switch it up in the next post. Lets wrap up this PowerShell picnic by exporting the data for easier consumption. For me, there are two trains of thought here depending on what I plan to do with the data. If the plan is just to view the data, then pipe the results to an export-csv command and you are set.
Get-EXOMailbox | Get-EXOMailboxStatistics | Export-Csv -NoTypeInformation -Path “c:\temp\EXOMailboxStats.csv”

If you plan to use that data for more PS commands (in the same session), then store it in an object first and then export the data. This way you won’t have to spend time gathering it again.
$exoMailboxStats = Get-EXOMailbox | Get-EXOMailboxStatistics
$exoMailboxStats | Export-Csv -NoTypeInformation -Path "c:\temp\EXOMailboxStats.csv"

Conclusion
That about sums it up (pun totally intended). In this post we went over installing the new ExO V2 module, using the module to connect to Exchange Online, and then using our new connection with some small scripting logic to gather mailbox statistics.
Get commands really are important because they are what will show you all your current Exchange Online properties. There are so many properties though, so which ones are important to look at??? Join us next time around as we solidify our grasp of the get commands and start to look at security related properties that could help show you if your users have been compromised!